QR Codes on Product Labels: 10 Things to Know Before Printing
 by Avery Team
QR codes are appearing more and more frequently on products, labels, and packaging. They can link to instructions, ingredient lists, certifications, recycling guidelines, videos, product pages, or digital product cards. For companies, this is a simple way to provide more information without overcomplicating the design.
As regulations such as PPWR, EmpCo, and DPP continue to evolve, their importance will grow. Labels with QR codes can facilitate access to online data and support more transparent communication with customers.
However, for a QR code to work properly, it must be properly prepared for printing. Find out what to look for before placing it on a label or package.
Why are QR codes becoming more important?
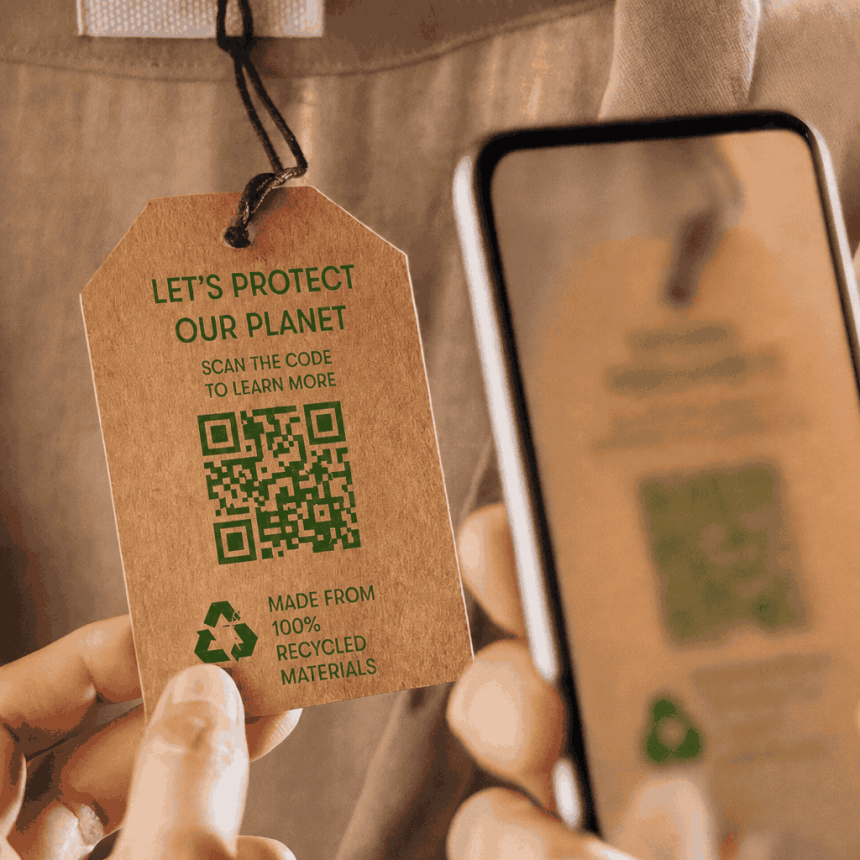
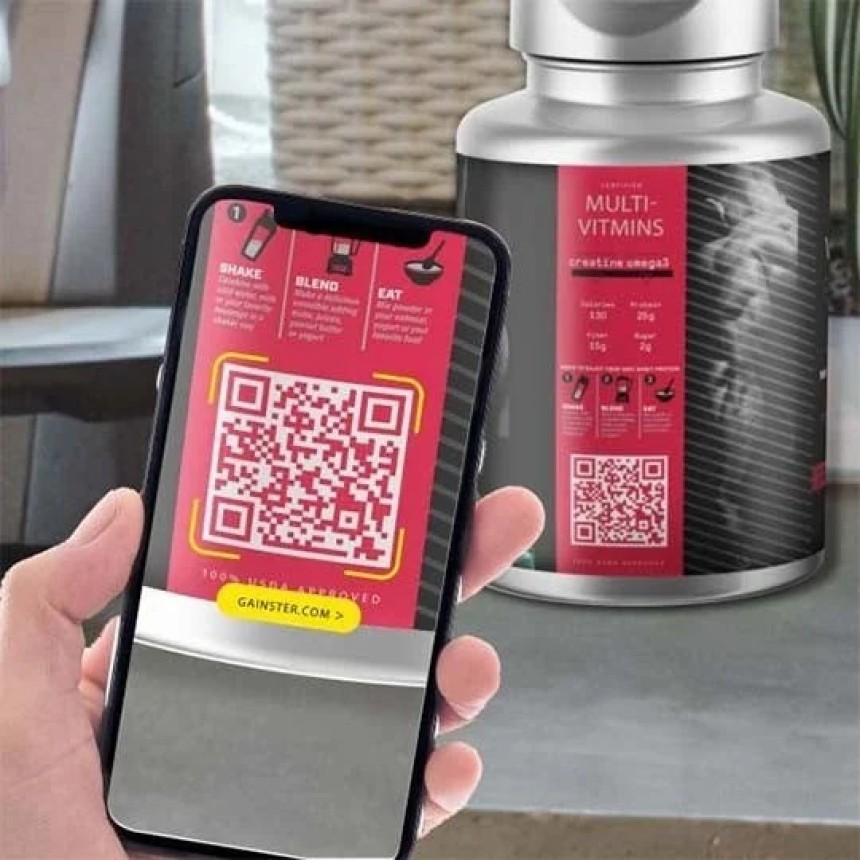
A QR code acts as a link between a physical product and digital information. Simply scan it with your phone to access a website, instructions, a video, a document, a form, or additional product information.
This is especially important when there isn’t enough space on the label or packaging to include all the information. A QR code can help convey more content in a simple, convenient, and up-to-date way.
QR codes are increasingly used in areas such as:
- product communication
- informational labels
- package labeling
- compliance labels
- smart labels
- digital product cards
- user manuals
- recycling and waste sorting
- product or batch identification
In practice, this means that a label no longer needs to contain only basic information. It can become a gateway to broader digital communication

What can a QR code label contain?
A QR code on a label can link to a wide variety of content. The most important thing is that the purpose is clear to the user and actually useful.
The most common uses include:
- full product details
- instructions for use
- ingredient information
- information about packaging materials
- sorting or recycling guidelines
- certificates and declarations
- instructional video
- contact form
- product page
- digital product details
- batch or serial number information
- loyalty program
- customer reviews
- promotional campaign
It’s a good idea to include a short message next to the code, such as “Scan to view the instructions,” “Learn more about the product,” or “Check recycling information.” This lets the user know what to expect when they scan the code.
How to Prepare a QR Code for Printing: 10 Practical Tips
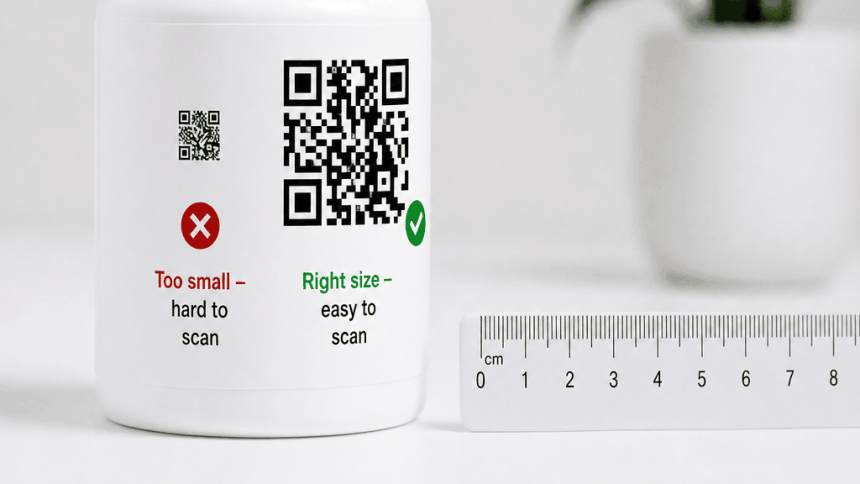
A QR code shouldn’t be too small. The more data it contains, the more complex its pattern becomes. A code that’s too small may be difficult to scan, especially on curved, shiny, or small surfaces.
Before printing, it’s a good idea to check the code at its actual size, not just on a computer screen.
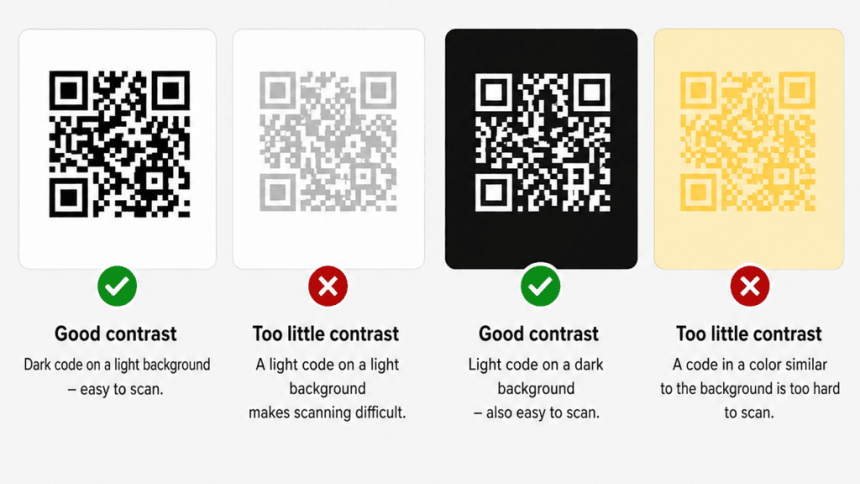
The safest option is a dark code on a light background. A black QR code on a white label usually provides the best readability.
Colored QR codes are also possible, but you need to be careful. A code that’s too light, a background that’s too dark, or low contrast can make scanning difficult.
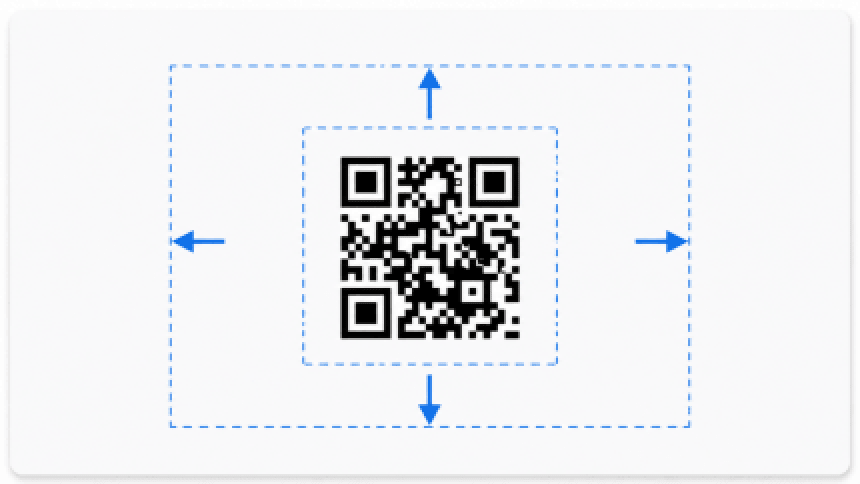
A QR code needs a margin—that is, empty space around the pattern. It should not touch any text, logos, graphics, or the edge of the label.
This is important because the scanning app needs to clearly read the code’s boundaries. If there are too many graphic elements around it, the code may not scan as well.
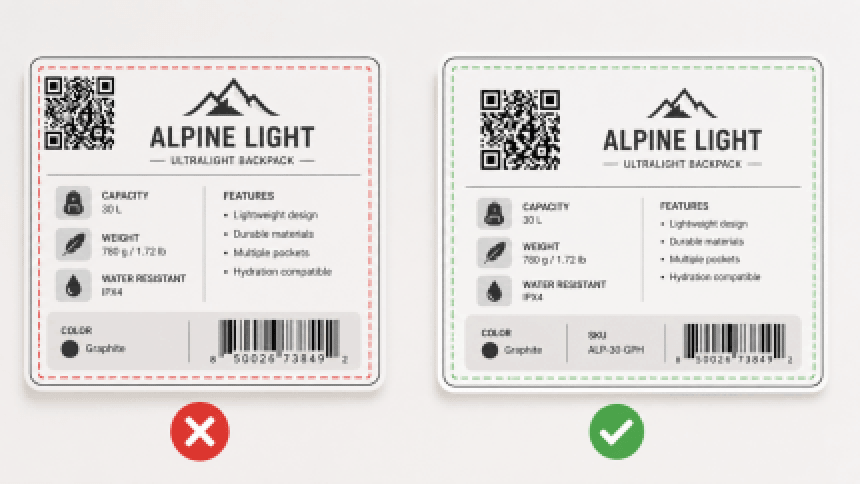
The QR code should not be placed right at the edge of the design. Minor misalignments may occur during printing, cutting, or applying the label. If the code is too close to the edge, part of it may be cut off.
It is best to leave a safe margin between the code and the cut line.
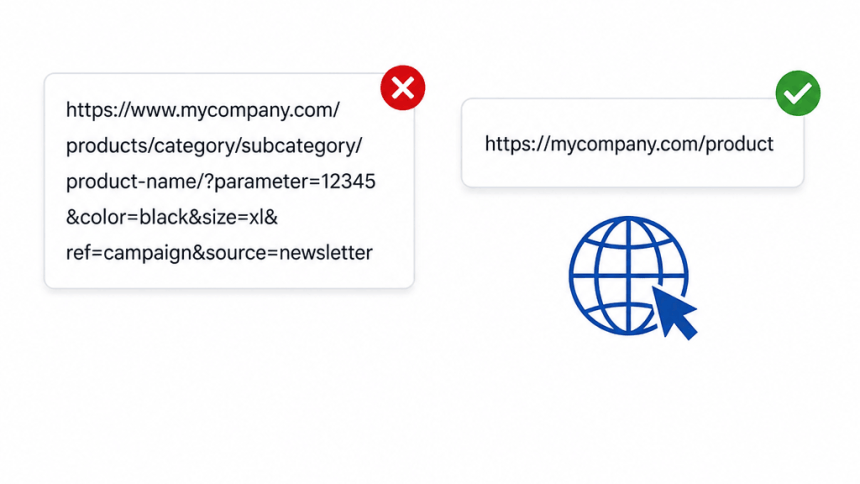
The shorter and simpler the link, the less complex the QR code will be. Very long URLs can create a more intricate pattern that is harder to read.
If the code is meant to lead to a website, it’s a good idea to use a simple, stable URL and ensure the landing page is well-designed.
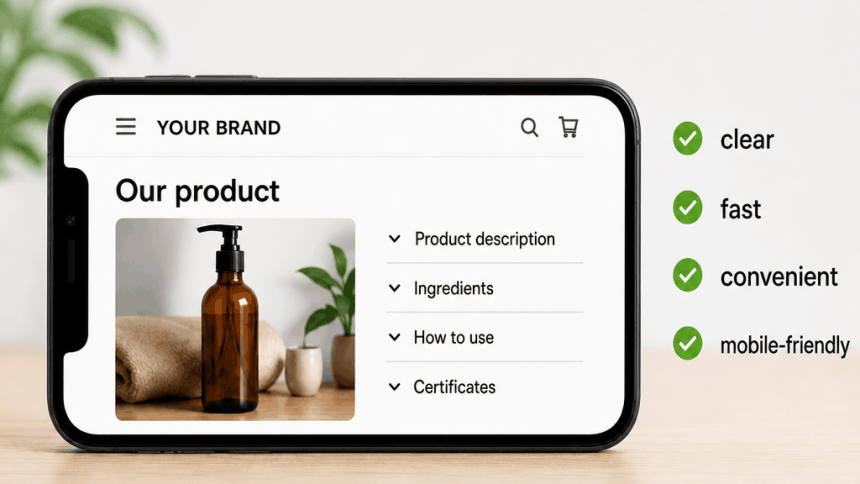
QR codes are most often scanned with a smartphone. Therefore, the page they lead to should be fast, easy to read, and user-friendly on mobile devices.
It’s best to avoid large files, hard-to-read PDFs, and pages that take a long time to load. Users should be able to quickly find the information they scanned the code for.
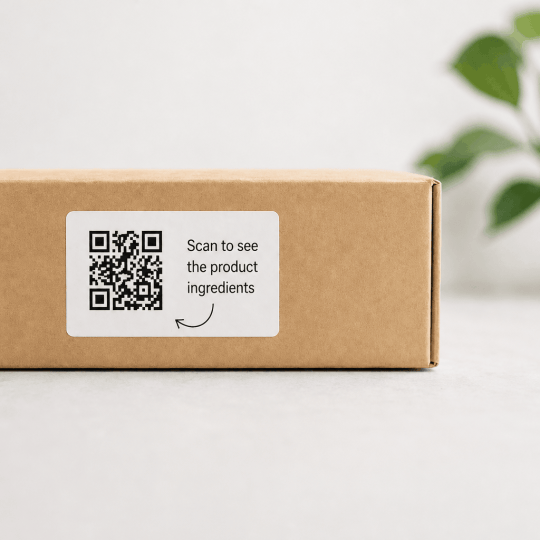
A QR code alone doesn’t always encourage people to scan it. A short message next to the code increases the likelihood that a user will scan it.
Examples:
• Scan to see the product’s ingredients
• Check the instructions for use
• Learn more about recycling
• View the full product sheet
• Check the certification
• Discover the product’s history
This text also helps organize the information on the label.
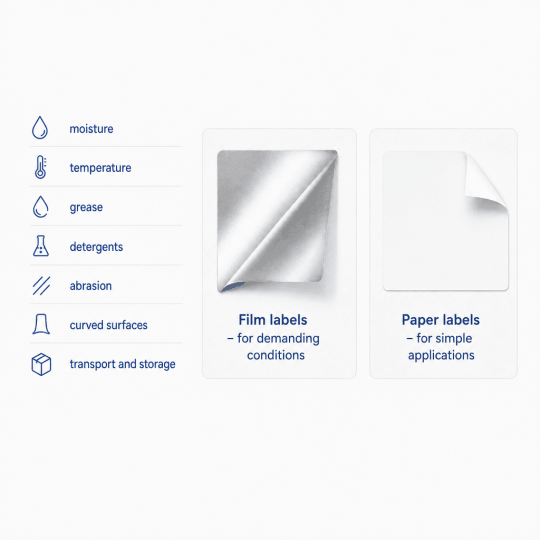
A QR code should remain readable throughout the product’s entire lifespan, so it’s important to select a label material suited to the conditions in which it will be used.
Factors such as moisture, temperature, contact with grease or detergents, abrasion, curved surfaces, and transportation and storage may all play a role.
Paper labels are sufficient for simple applications. In more demanding conditions, more durable materials will perform better.
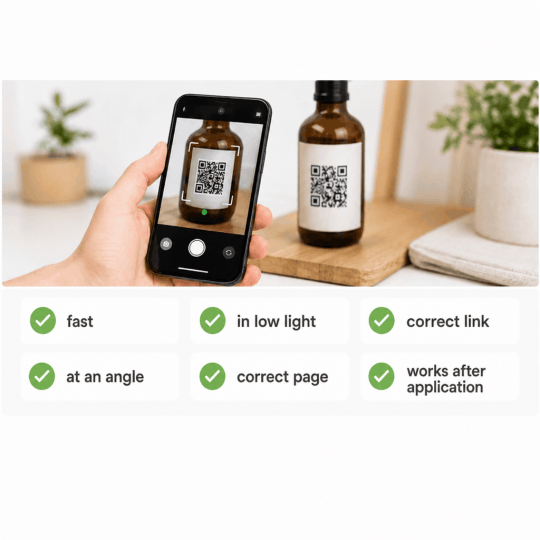
It’s a good idea to test the QR code not only on the screen but also after printing a test copy. Check it on several phones, from different distances, and under different lighting conditions.
Make sure the code scans quickly, works at an angle, leads to the correct content, and opens the landing page correctly. It’s also a good idea to test it after the label has been applied to the product.
This is especially important for small labels, bottles, jars, glossy packaging, and curved surfaces
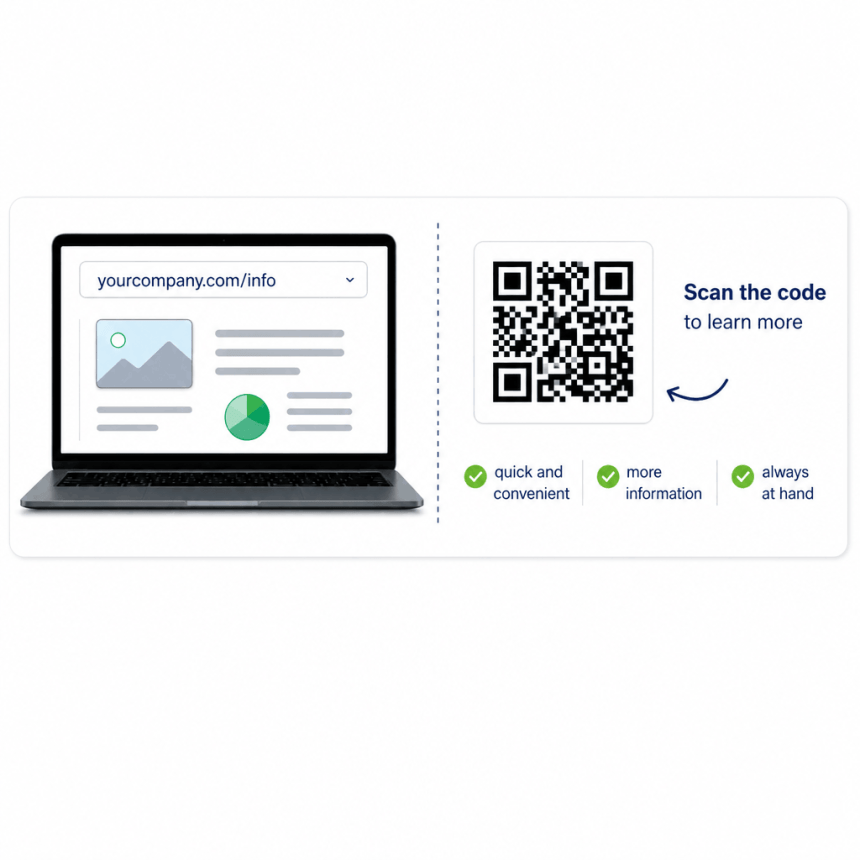
10. Make sure the content can be updated
If the information is subject to change, it’s worth carefully considering where the QR code leads. For instructions, promotions, environmental data, or product information, a solution that allows you to update the content online without changing the label itself can be useful.
This is especially important when the label is intended to support communication related to regulations, recycling, certifications, or product data.
How do you properly prepare a QR code for printing on a label?
A QR code intended for printing on a label should be the appropriate size, have high contrast, and have white space around it. The safest option is a dark code on a light, solid background. A “quiet zone”—an unprinted margin at least 4 QR code modules wide—should be left around the code.
Before sending the design to print, it’s also worth checking:
- whether the code is too close to the edge or the label’s cut line,
- whether the individual elements of the code are sharp and have not been smudged or distorted,
- whether the color used provides adequate contrast with the background,
whether the code is located on a fold, a sharply curved surface, or in a place prone to damage, - whether the URL linked to the code is correct and will remain accessible for the entire duration of the label’s use,
- whether the landing page is optimized for mobile devices.
It’s best to test the QR code after printing the design at actual 1:1 size, and then again after applying the label to the product or packaging. It’s a good idea to check its functionality on several smartphones, from various distances, and under different lighting conditions.
There is no single universal minimum QR code size that works for every label. Readability depends, among other things, on the amount of data stored, the size of a single module, print quality, the label material, and the scanning method. Therefore, instead of making the code as small as possible, you should choose its size based on the specific project and always perform a test before printing a larger run.
In short: a QR code on a label should be clear, high-contrast, surrounded by white space, and tested at its intended size and on the final packaging.
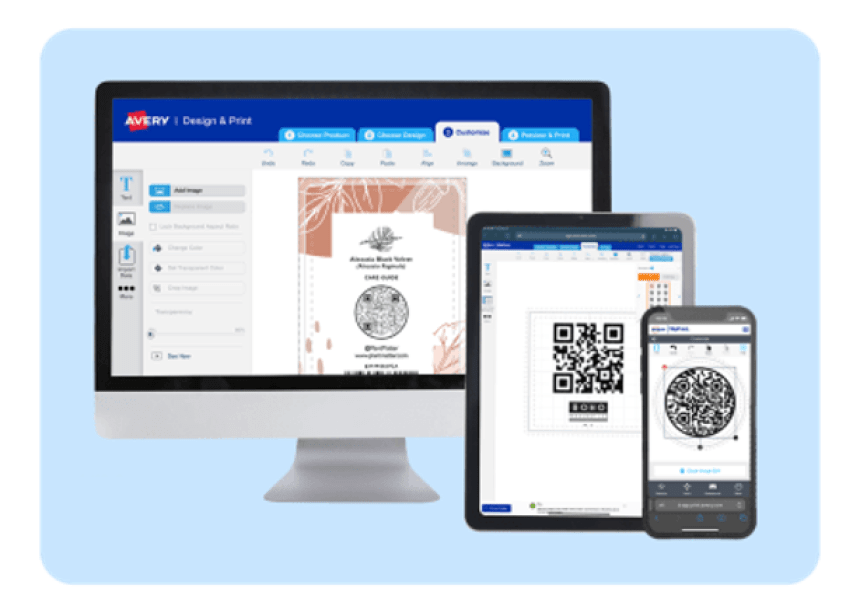
How do I create a QR code label in Avery?
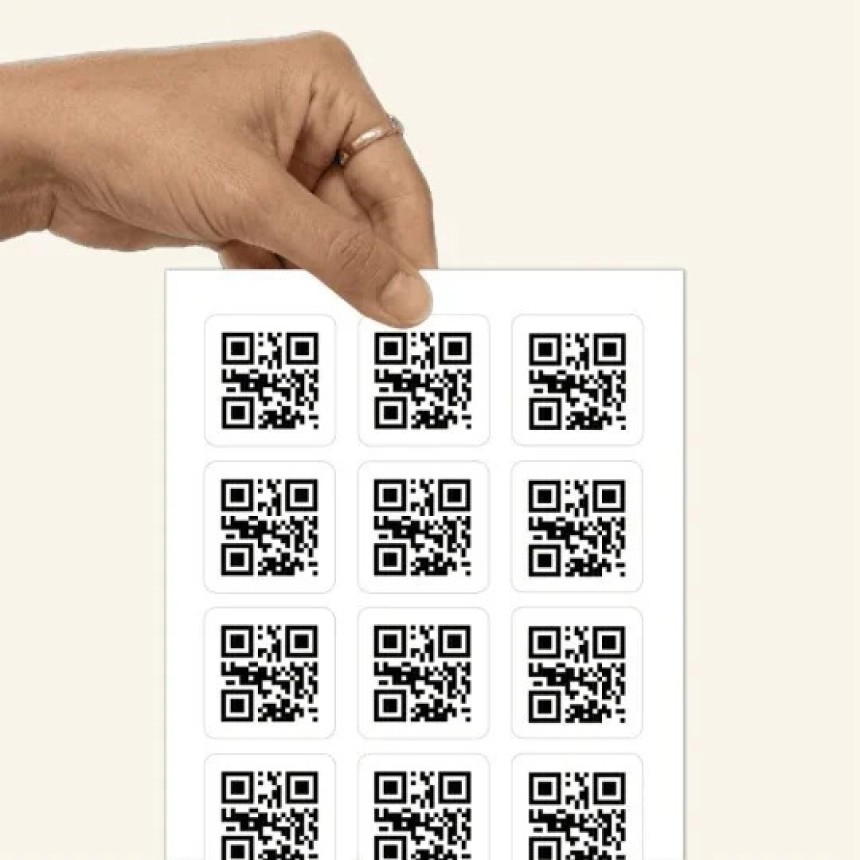
In Avery, you can create QR code labels in several ways. You can choose blank labels to print yourself or order personalized labels with your own design.
In practice, the process might look like this:
- Select the label format and material.
- Create a design with your logo, text, and QR code.
- Make sure the code is the right size and has sufficient contrast.
- Add a short description encouraging people to scan the code.
- Review the design on screen and in a test print.
- Test the code on different phones.
- Print the labels yourself or order them pre-printed.
This allows you to create QR labels tailored to your product, packaging, campaign, or informational requirements.
Common Mistakes with QR Code Labels
It’s best to avoid these mistakes right from the design stage:
- QR code too small
- contrast too low
- no margin around the code
- code placed on a fold or edge
- link leading to an outdated page
- page not optimized for mobile devices
- no information about what the code links to
- no post-print test
- use of inappropriate label material
- design around the code too complicated
Even a well-generated QR code may not work properly if it is printed incorrectly or placed in the wrong location.
QR code label: How to Prepare a Design for Printing?
Labels with QR codes are a practical solution for companies that want to convey more information about their products and packaging in a simple, modern, and convenient way. They can support product communication, packaging labeling, marketing activities, customer service, compliance labels, smart labels, and preparation for new requirements such as PPWR, EmpCo, or DPP.
However, the most important thing is to properly prepare the code for printing. The correct size, contrast, margins, label material, and scan test directly affect whether the QR code will work in practice.
A well-designed label with a QR code can become more than just a label. It can provide quick access to information, support for the customer, and a flexible communication tool between the product and the digital world.