How to make bottle labels yourself?
Check our tips
Check out our hints!
Do you need labels that will look aesthetically and professionally on a bottle of homemade wine, lemonade, liquor, vodka, or yet another beverage? Don't want to have a large number of labels printed because you don't have the time or inclination to wait for the order to be processed? Make your own labels that are completely in line with your vision! All you have to do is design them in our free Design&Print online software (available in the SOFTWARE tab), and then use a regular home printer to print them in the exact quantity you need!
Follow the steps below and make your original bottle labels - whether the products are for sale or for your own use:

1. Measure the area on the bottle where the label will go
As wine and other beverage bottles come in many shapes and sizes, it definitely does not pay to choose labels “by eye.” Remember that labels cannot be applied on a tapered surface (they will stand off unsightly), so they should be applied only on the cylindrical area of the bottle below its narrow “funnel”.
TIPS: If you have used bottles on which labels have already been applied, simply measure what size they are. And if your bottles are new and without any labels, then to accurately measure the area it is best to use a piece of string or a tailor's tape measure, with which it is easier to encompass the rounded shape of the vessel.
2. Choose the right size and shape of the label
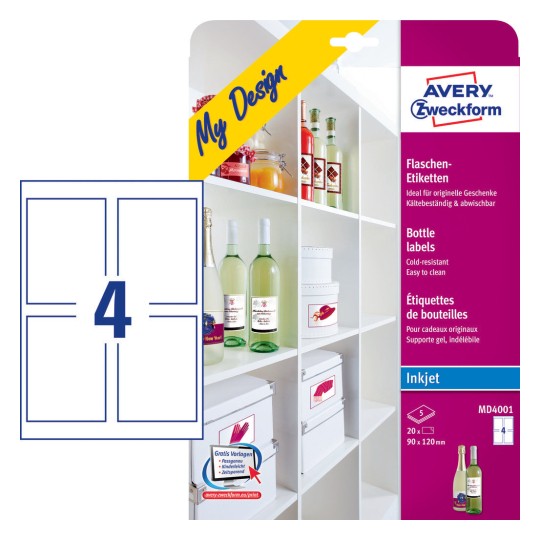
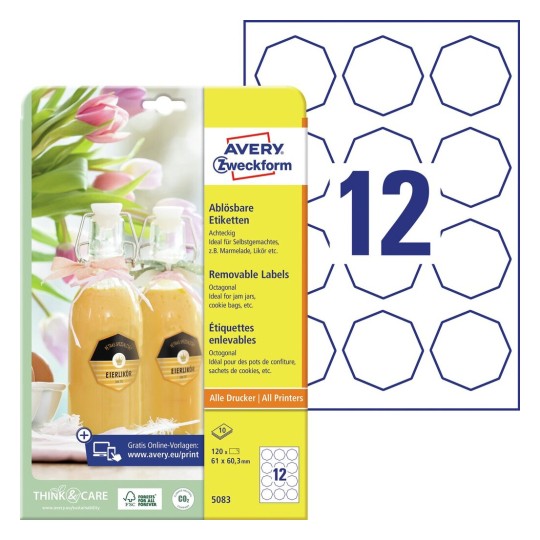
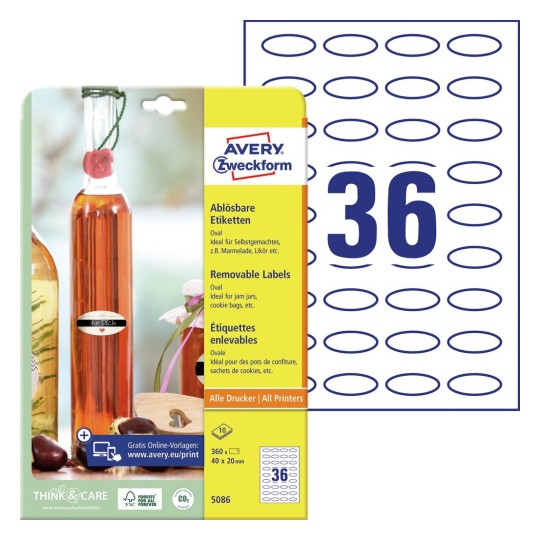
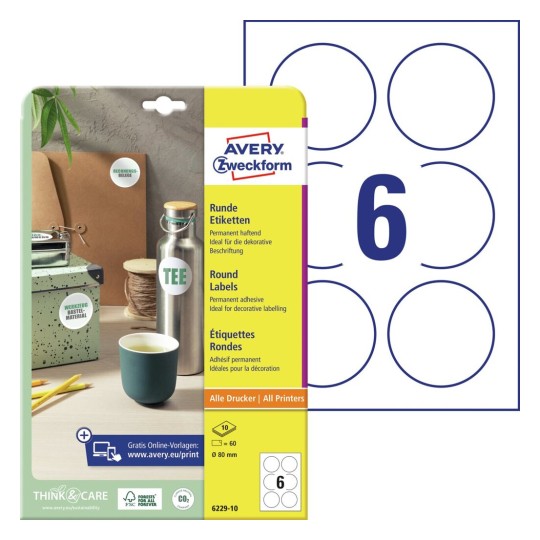
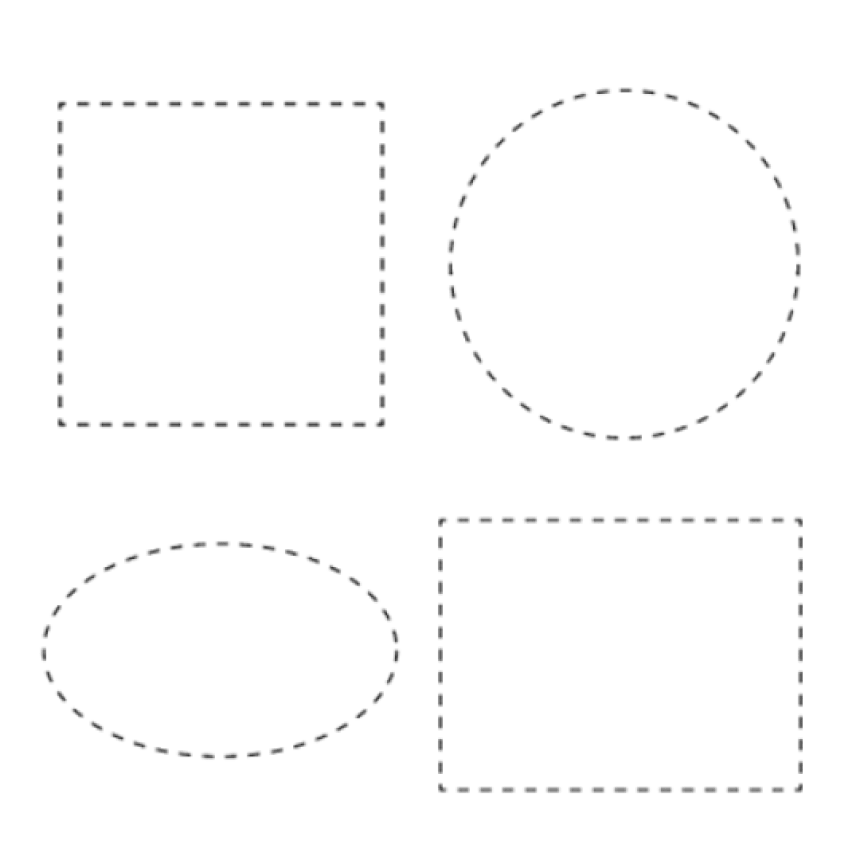
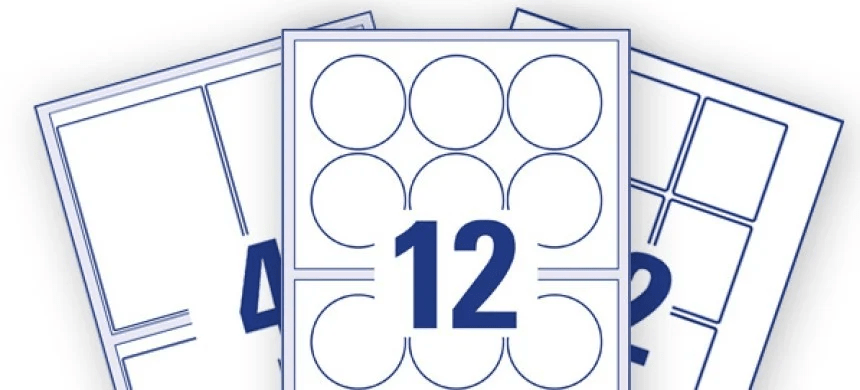
After measuring the area, make sure you buy the right size label. Before deciding which sheets are best, you can, for example, cut out shapes from a blank sheet of paper along the lines of Avery Zweckform labels and then apply them to the bottle to see if that size and format will be appropriate. For oblong bottles, rectangular labels applied in a vertical orientation will work best, and for wide bottles it is worth applying the labels horizontally. In addition, they can be supplemented with square, round or oval labels in smaller sizes, on which it is worthwhile to include temporary information, such as a message about a product promotion or a thank-you note for a purchase.
3. Choose a label material
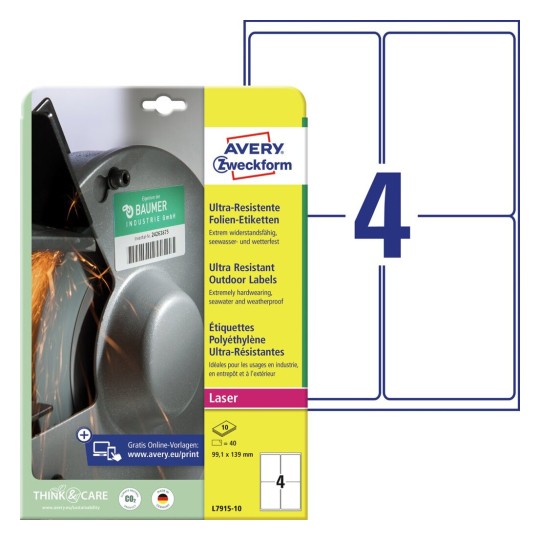
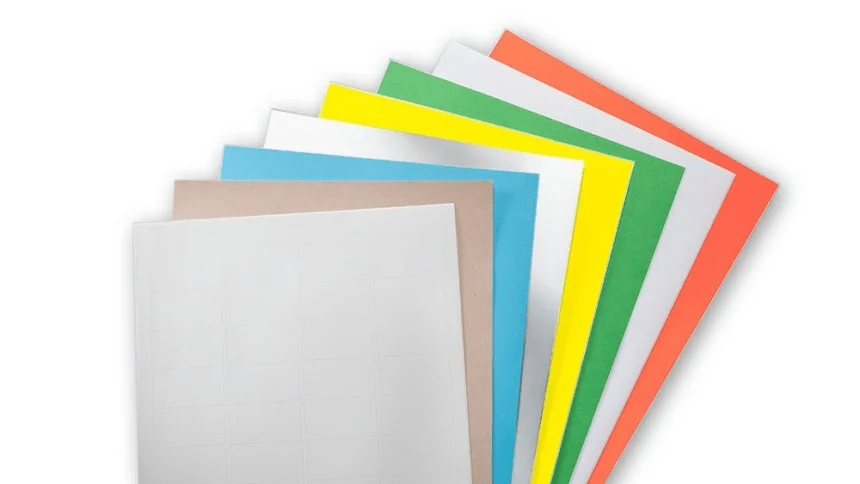
Avery Zweckform offers several types of label materials. If your bottles will be stored in a wine cooler, ice bucket or refrigerator, we recommend using waterproof foil labels, which are highly resistant to water, changing temperatures, dirt and tears.
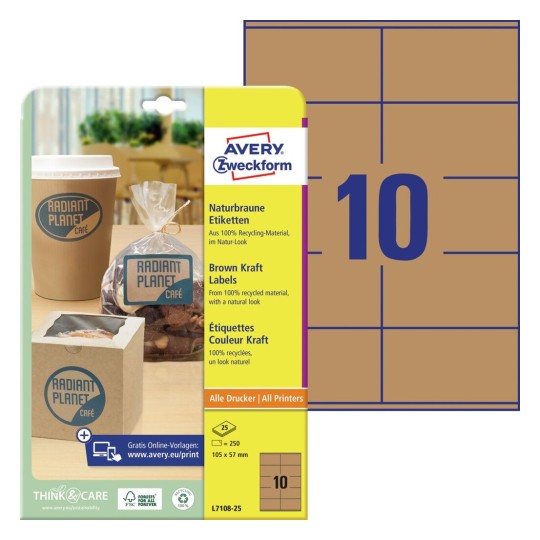
If you want to make your beverages more eco-friendly, then it is worth choosing paper bottle labels, which are available in different sizes, shapes and colors.
5. Create a label design
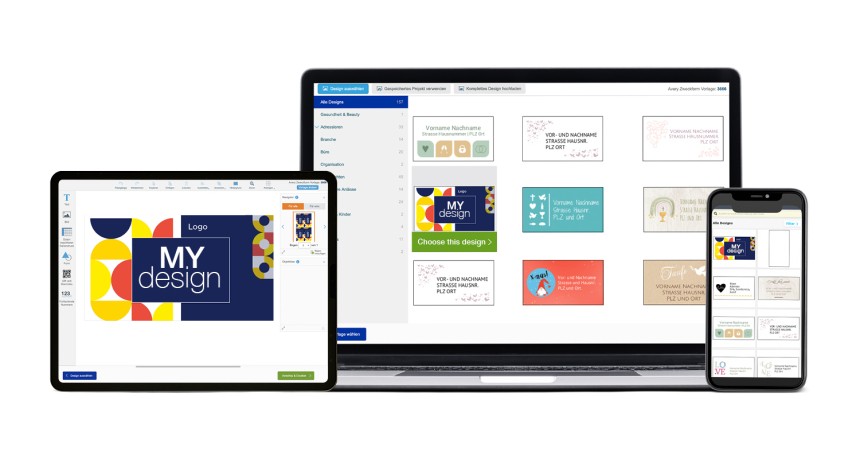
Designing labels for wine, labels for liquor, or for yet another beverage is very easy with an online tool from Avery Zweckform. Go to the SOFTWARE tab on our website and find out that it literally takes a moment to create an interesting design. In the program you can use a rich database of free, pre-designed templates for editing, or you can create a project completely on your own from scratch.
Once the design is approved, print it on Avery Zweckform sheets using your regular home printer. Each label sheet will tell you whether it is suitable for inkjet printing, laser printing, or both.

6. Prepare the bottles
Put the printed sheets with bottle labels on a clean, dry and smooth surface - so that they do not get dirty or deformed. If you are using recycled bottles, at the very beginning it will be necessary to remove the wine, beer, liquor, etc. labels already affixed to them.
Next, it's a good idea to sterilize the dishes. If you don't have a sterilizer, then after washing the bottles, just rinse them well with boiling water or put them in a hot oven. Just before applying the labels, make sure your bottles are dry and at room temperature.
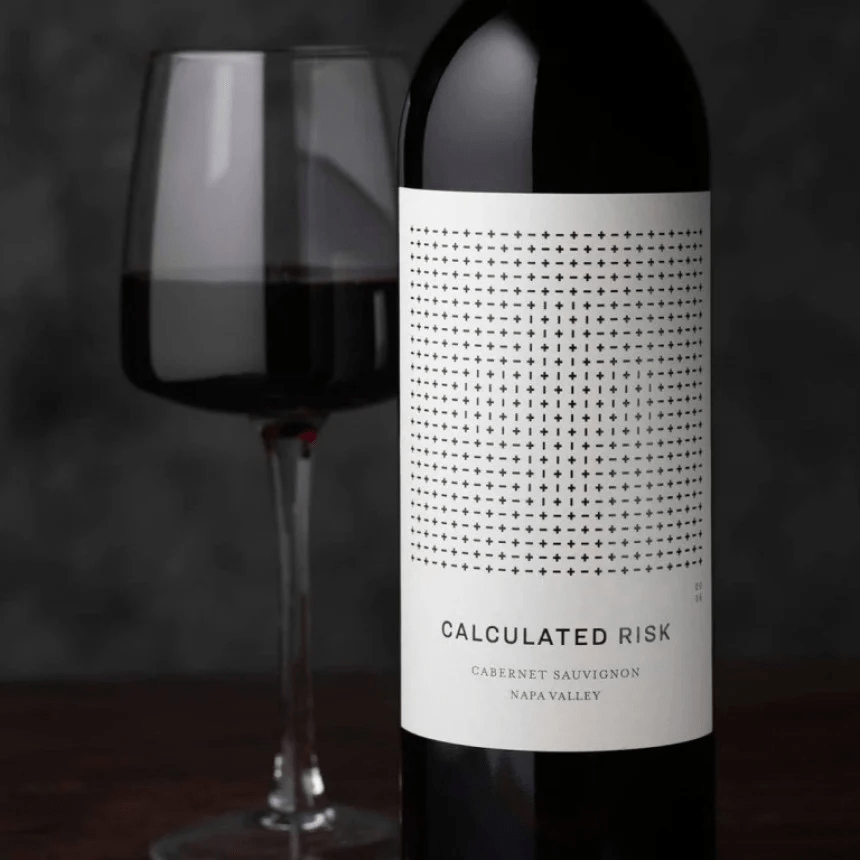
7. Apply the labels to the bottles
Precise and even placement of the label on the curved surface of the bottle may initially require a little more attention and practice. So it's a good idea to place the bottle between two objects that will provide a block and prevent the vessel from rolling. If your bottles have a visible seam or pattern on the glass, it can serve as a sort of marker to help you apply the label simply.
Important! Do not stick directly on the seam or any protuberances on the bottle.
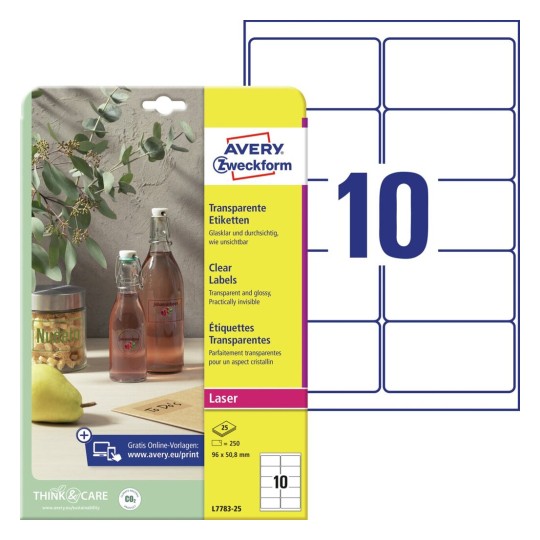
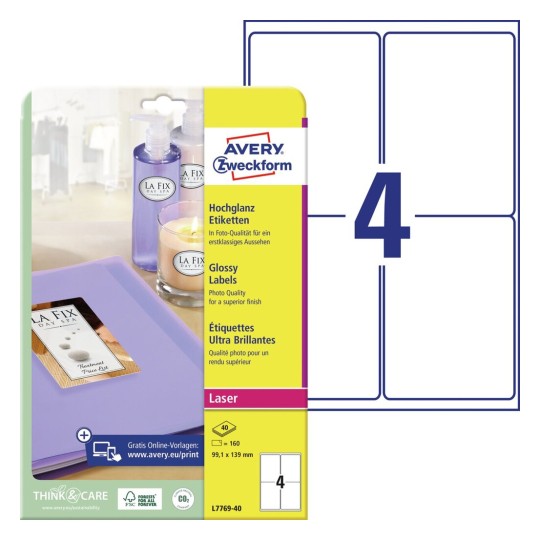
Recommended products for bottle labels:
